


Yesterday, I searched all over the place on the internet about how to add TLS certificates to Dynatrace cluster nodes and make a single domain to route through multiple nodes in case of any failure in the primary node. As we already know that data between nodes in Dynatrace will be distributed across multiple nodes if it exists and a failover mechanism is triggered if there is a failure in a node or two.
I didn’t find a single article that explains this hence I thought of writing my experiments in my blog. For those who are new, SSL/TLS certificates are security certificates for a website where it tells the user to enter passwords/sensitive data into the site they are in. If a website is having a TLS certificate, it means it uses HTTPS protocol instead of HTTP. This means whatever data you enter inside that site is protected with some security measures. Also, the domain is trusted by the third-party authorities which we call the Certificate Authority (CA).
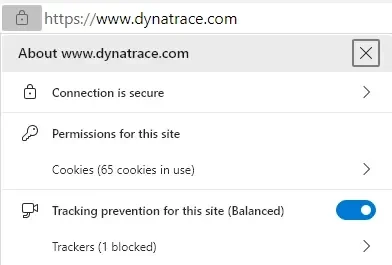
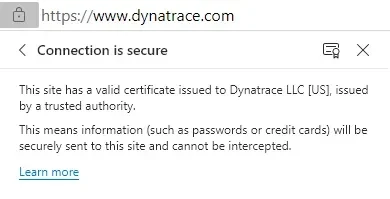
CAs are helping the internet to be the place where user can safely share their information with the company or the website with peace of mind without having to worry about attacks in the middle of stealing their sensitive data. This is done by CAs by issuing a certificate for each domain and recognizing it. If the domain is having a valid certificate, the web browser displays that domain with a lock symbol telling that this site is having a certificate that is trusted by CA and you can share your information on this site. What happens in the backed? This is the topic of another session. In this article, I like to tell you some of the key pointers to be noted while installing SSL certificates in Dynatrace cluster nodes.
For those new to Dynatrace, the cluster nodes concept comes in the Dynatrace Managed deployment model where all the data that Dynatrace OneAgents collects will be residing in the data center of the organization and not in the Dynatrace cloud. Usually, as a Dynatrace ACE consultant, we recommend everyone to have at least 3 nodes in their cluster to prevent failure or 100% data loss.
Each node will be having its own set of IPs (Public and Private). Due to security reasons, organizations prefer to have only private IPs in their nodes. Since a lot of sensitive data is captured and stored in those nodes, all the communication must be secure. In Dynatrace we take security very seriously and protecting our customer’s data is our first preference. The first step to being secure on the web is, encrypting the communication even inside the data center as well as throughout the Internet.
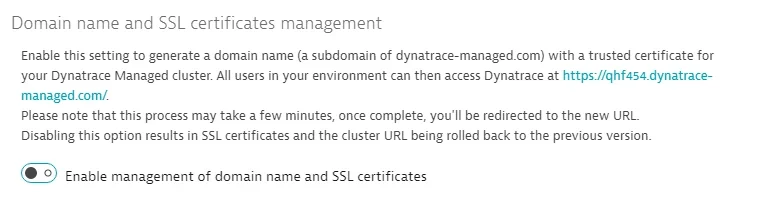
Note: This article holds good for those who want to add their own domain names by disabling the default address that is provided by Dynatrace. (Disable the SSL certificate management)
Let’s get started
Let’s get started on how do we do that and what are the points we need to keep in mind while applying certificated to cluster nodes.
Pre-requisites
- Dynatrace Managed Cluster with a license
- At least 3 Cluster Nodes
- Admin access to the cluster
- SSL certificates (Multi-Domain or 4 Single domain certificates)
- Access to the domain’s DNS record.
Once the above pre-requisites are satisfied, let’s go ahead and start the drill. I will discuss each step starting from having your own domain connected to adding your subdomain to cluster nodes and then mapping them to your domain’s CNAME record.
Scenario:
To start our journey, understanding the current scope is important and in this section, I will brief you on what exactly we are doing and which scenario we are in. I have a Dynatrace managed instance with 3 cluster nodes in it. I purchased a new domain from GoDaddy and also created an account in ZeroSSL for getting SSL certificates for the domain. In my scenario, I want to use the domain I purchased and add the subdomain as lab.dt-transform.com to access Dynatrace managed. Along with that, I also need n01.lab.dt-transform.comn02.lab.dt-transform.com & n03.lab.dt-transform.com to access the same website but it should hit 3 other respective nodes where n01 for node 1 and n03 to node 3. Along with the accessibility, all of these domains should have SSL certificates as well. One use case here for using SSL/TLS here is, we cannot access sensitive session replay data in Dynatrace unless the domain you are visiting is accessed through HTTPS protocol.
#1 Creating Multi-domain certificate
Now, before changing DNS records of the domain, let’s generate certificates for all of the mentioned domains using ZeroSSL (It is free to generate certificates but you need to upgrade to a basic plan to generate multiple or unlimited single domain certificates). Create certificates for each domain and in my case, I am using multiple domain certificates. Where I am generating certificates for all 3 no1, no2, and n03 domains by combining each of them with lab.dt-transform.com. This makes certification generation like this,
- Certificate One — n01.lab.dt-transform.com & lab.dt-transform.com
- Certificate Two — n02.lab.dt-transform.com & lab.dt-transform.com
- Certificate Three — n03.lab.dt-transform.com & lab.dt-transform.com
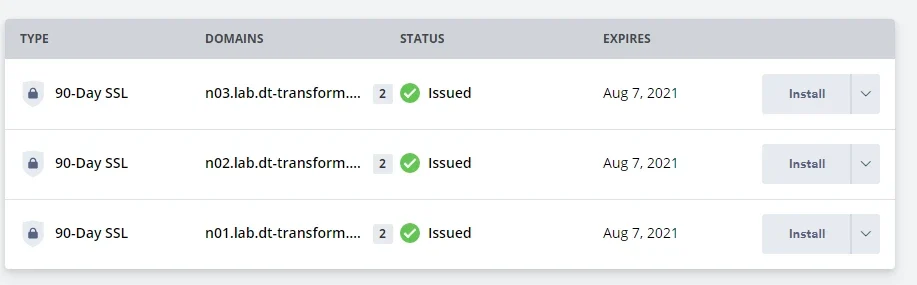
You need a pro account to generate multiple domain certificates. The certificate which we generate is 90-day certificates where we can renew them every 90-days indefinite times. Follow the steps that are shown in the ZeroSSL portal and generate the certificate which will contain 3 files if you download using the default format. These files will contain, Private Key (It mustn’t be shared with anyone), Public Key, and CA Bundle (Certificate Chain is optional).
Note: Certificate generation depends on the network team where you can instruct your customer regarding the same and get you the files in a default certificate format. I am using my own lab and have all rights to do it here so I am following the steps of generating a certificate here.

Once you generate certificate for all domains, you need to apply each certificate in each cluster nodes.

#2 Installing certificates to cluster nodes
Now, login to Dynatrace CMC and go to deployment status and under cluster nodes, you will see the list of nodes that are installed.
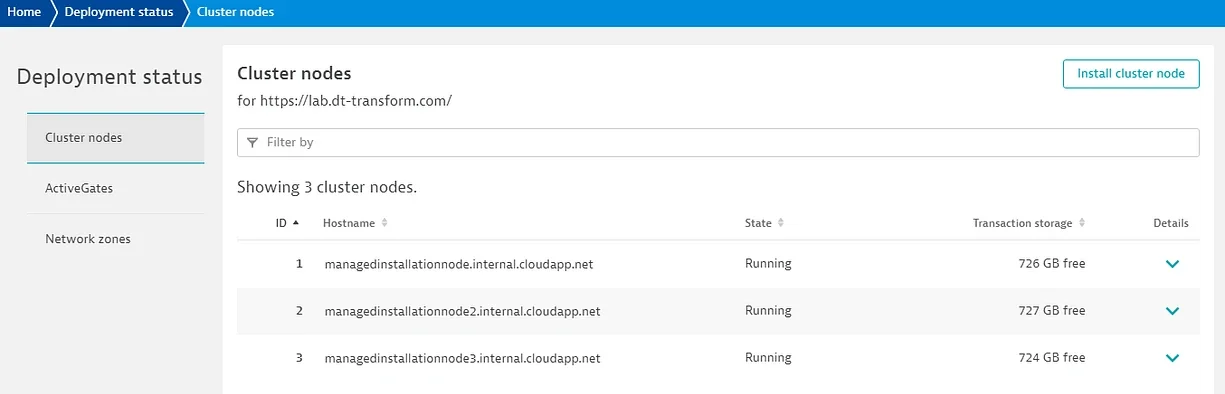
Click on the icon that is in the details icon on any one of the nodes and got to configure option and Edit SSL certificate. 3 new fields will open as shown in the below screenshot.
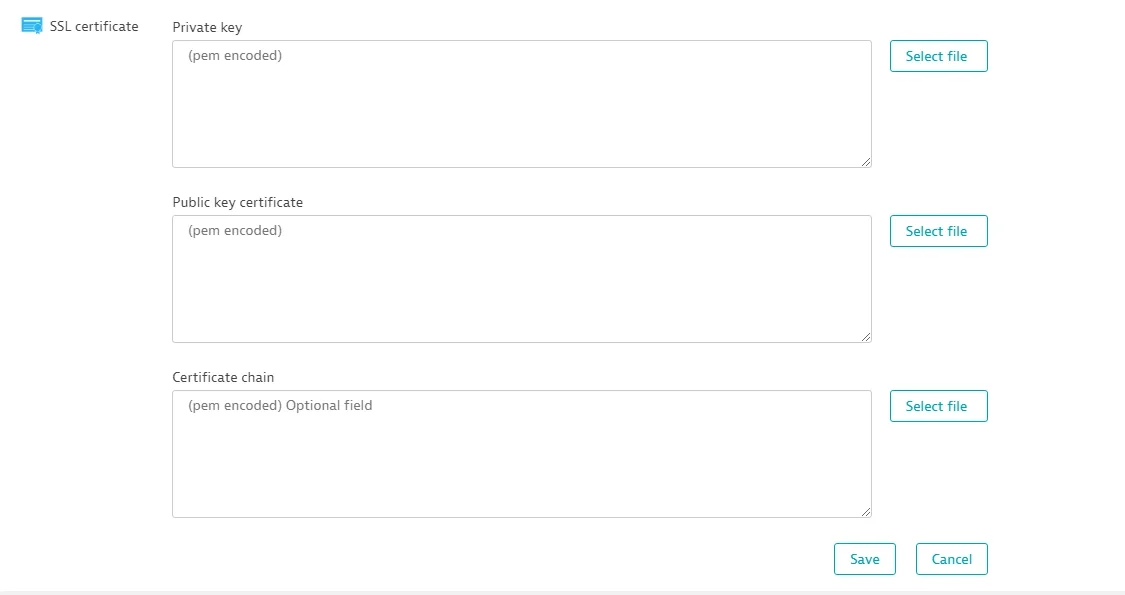
In each of those fields please select the files and entry will automatically be populated. Make sure you use the n01 certificate to cluster node 1 and n02 to cluster node 2. Extract the certificate that you downloaded in step 1 and select the files for
- Private Key select private.key file
- Public key certificate select certificate.crt
- Certificate chain select ca_bundle.crt
Save the changes and it should reflect as shown below, for cluster node 1. You can see the domain name with the certificate issuer name along with its expiry date.

Once the changes are saved, please follow the same steps for rest of the 2 nodes.
#3 Updating DNS A records and pointing sub-domains to cluster node IP addresses
Congratulations!! You have completed the tough part of applying SSL to cluster nodes. Now following steps will ensure that you route the traffic to those domains. In my case, I am going to GoDaddy and in there I am editing manage DNS settings in it but in your case, it can be a network team of domain team who is responsible for DNS records update in domain provider services. Please get the IPs of Cluster nodes and this might me public IP or might be private too depends on the security level they are exposing their cluster too. Please follow these instructions below,
- In my case, I am using the public IP of the cluster nodes.
- In manage DNS, add records in such a way that each node is pointing to its own IP. E.g. n01.lab.dt-transform should be pointed to cluster node 1.
- So, add A name records so that all nodes are pointing to their respective IPs.

- As a part of the test now you can visit each of these domains to check the traffic is routing through each of these nodes and observing they are serving through the HTTPS protocol. Even if you use HTTP, it will be redirected to HTTPS.
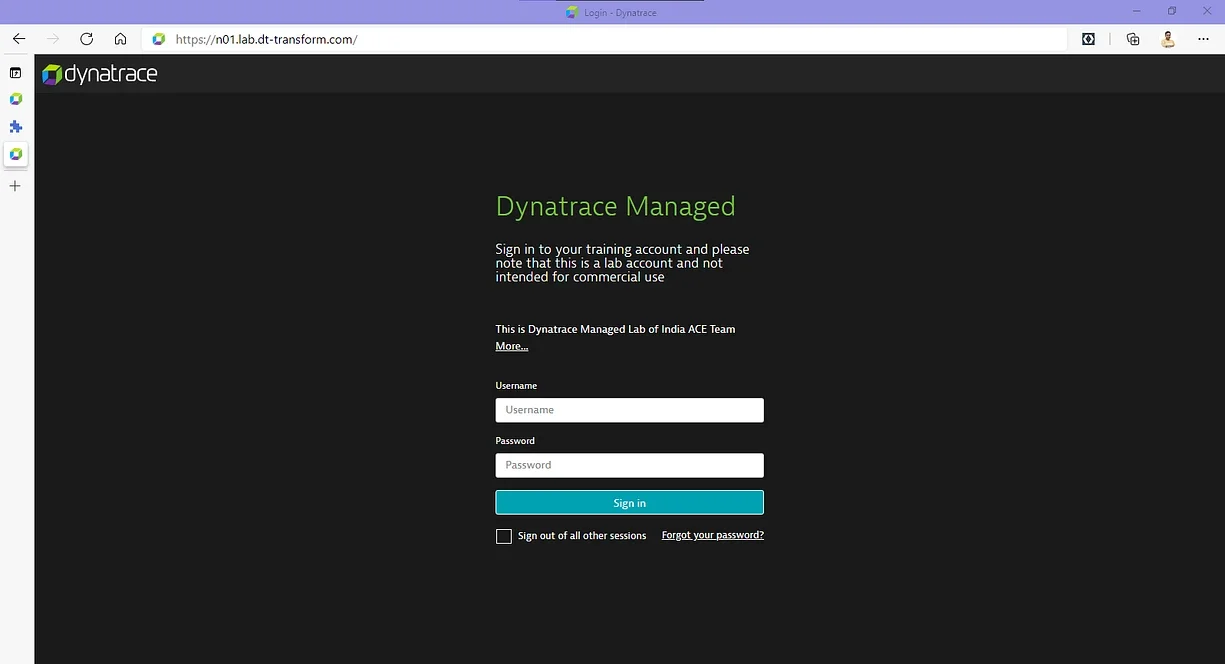
#4 Pointing the main domain to all these sub-domains by updating A records.
Now the hard part is done. We need to route traffic to the main domain and also apply a failover mechanism when cluster node 1 is not accessible or down, it should automatically switch to another node for seamless access. Usually, this happens in a round-robin fashion. To do that we need to apply A records in our DNS entries to ensure high availability.
Here our task is to make sure the same URL works for all nodes. Hence, we need to point all cluster node IPs to the main domain lab.dt-transform.com. To do that, simple update A records as shown below.

You’re set!!! Once you update your records, it might take a couple of minutes to reflect. Try visiting the site and now you can see the page is reflecting with HTTPS.
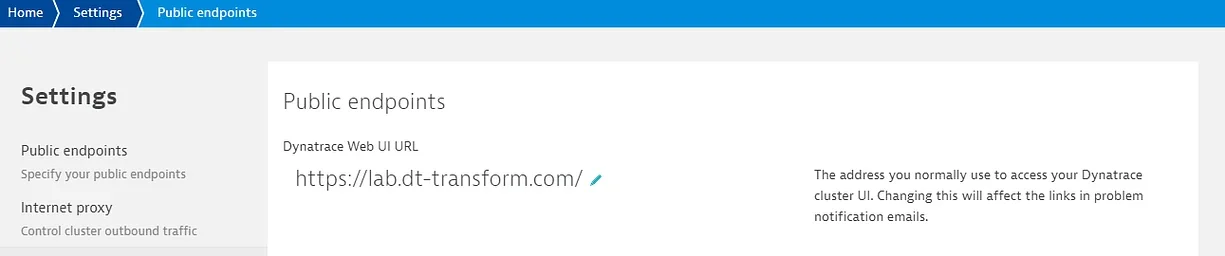
#5 Update public endpoint in Dynatrace and change it to main domain
Finally, you can now update the endpoint in Dynatrace which is useful in problem notification and notification emails. Go to CMC > Settings > Public endpoints > change the URL to https://lab.dt-transform.com
Conclusion
The above steps and activity we performed are basically holding good if you have an experience in Dynatrace and also in some of the concepts on how technology works like networking, IP, DNS, OSI layer, Communication protocols. If you want to know about the topics that are mentioned in the steps please checkout help articles related to them below,
- SSL/TLS
- Certificate Authorities
- Certificate Chain
- Dynatrace Managed
- Open Source Certificate Providers
- Domain Name System
- IP Routing Table
- Browser Security
I hope this is useful for you. Have a great time ahead and all the best for the implementation. Happy reading and Happy learning!!! Signing off for now. Until next time.
With a smile and regards.